 |
Dialog 3213 Executive
Install cables

| 3 |
|
Space for personal directory list (optional) |
| 4 |
|
Wall mounting screw holes |
You can put the cable to the handset in any of the two notches underneath the telephone. The cable to the exchange has to be plugged in LINE.
Change cables
To remove a cable, push down the plug stop. Use a screwdriver to unlock the stop.
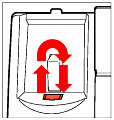
Wall mounting handset hook
When mounting on a wall, you have to pull out and turn the hook.
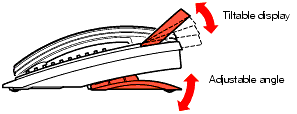
Install stand and adjust telephone

Install key panel
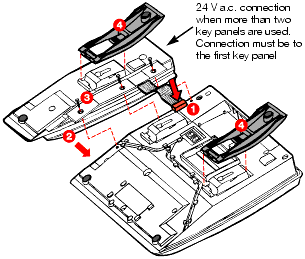
When connecting one or two optional key panels to your telephone the DBY 409 01 key panel may be used. No external power cables are required for this key panel, as power is supplied from your telephone.
However, if three or four key panels are to be connected, then the DBY 409 02 optional key panel must be used for all key panels connected to your telephone. Whereby, a 24 V a.c. power cable must be attached to the first key panel connected to your telephone to provide power to all key panels.
Placing the telephone
- Do not place your telephone on sensitive surfaces. Use a non-slippery pad to protect your furniture from possible damage.
- Do not place your telephone near sources of extreme heat, e.g. near the radiator.
- Make sure that the line cable isn’t creased.
Cleaning the telephone
Use a slightly moistened (not wet) soft cloth or an anti-static cloth and wipe off the telephone carefully. Do not use rough cloth, solvents or aggressive cleaning fluids. Any damages of the telephone, that are caused by non-observance of these instructions, are not part of the liability given by the manufacturer.
|
|